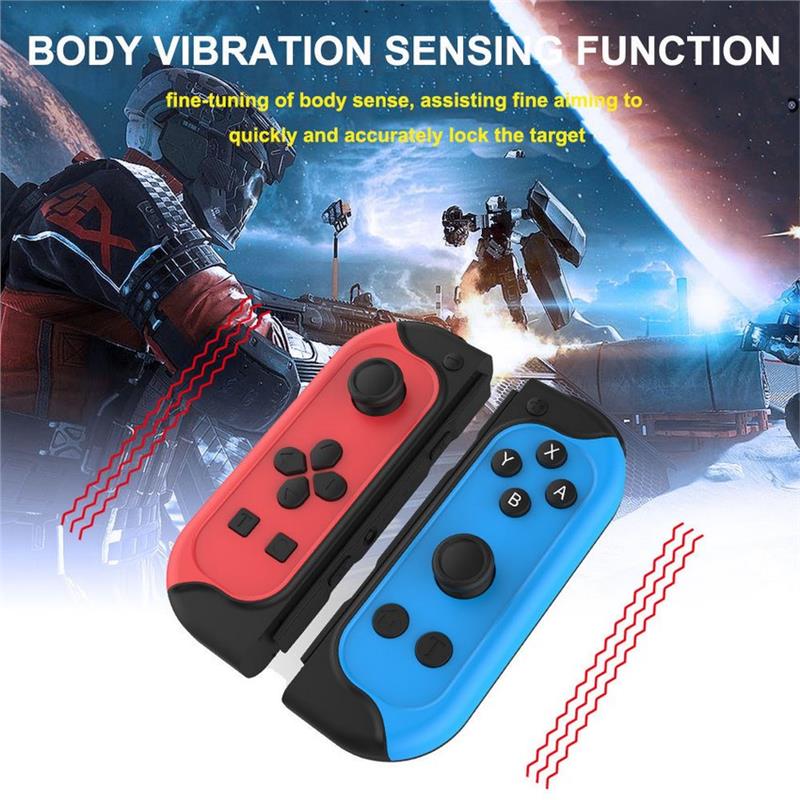
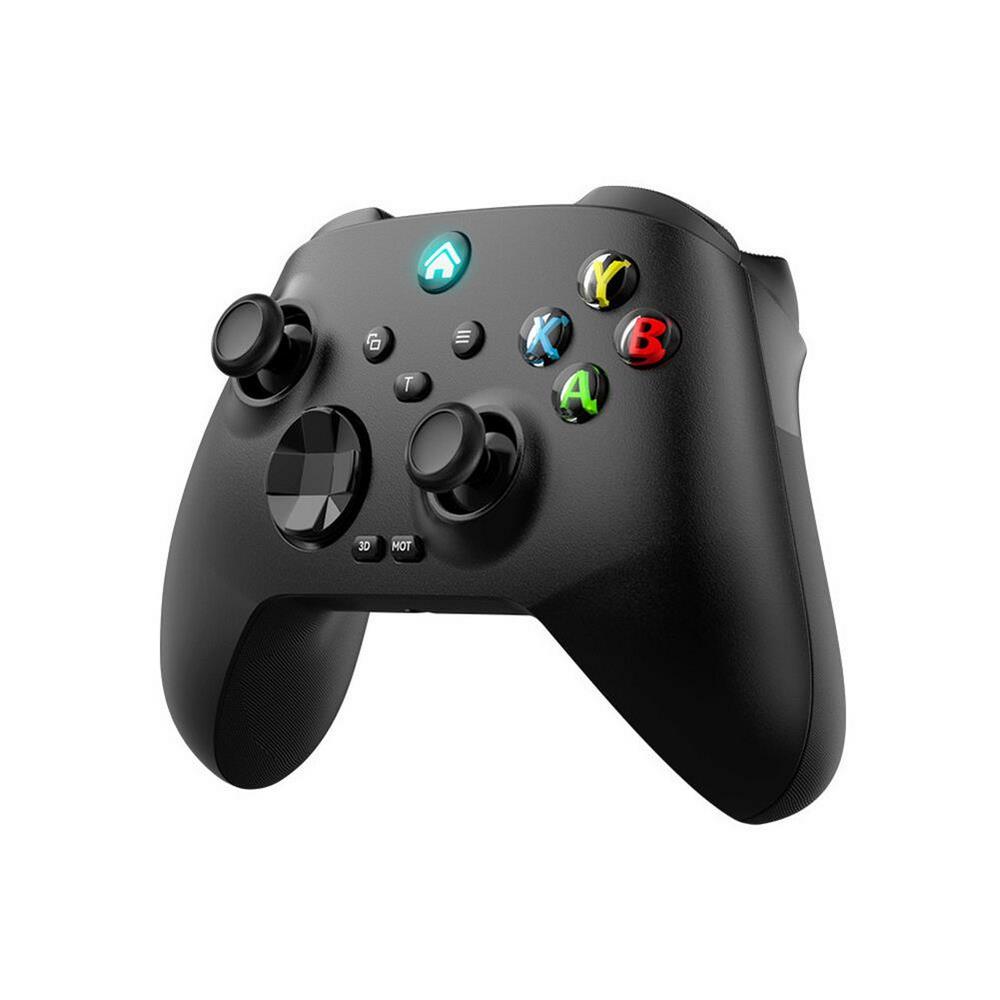
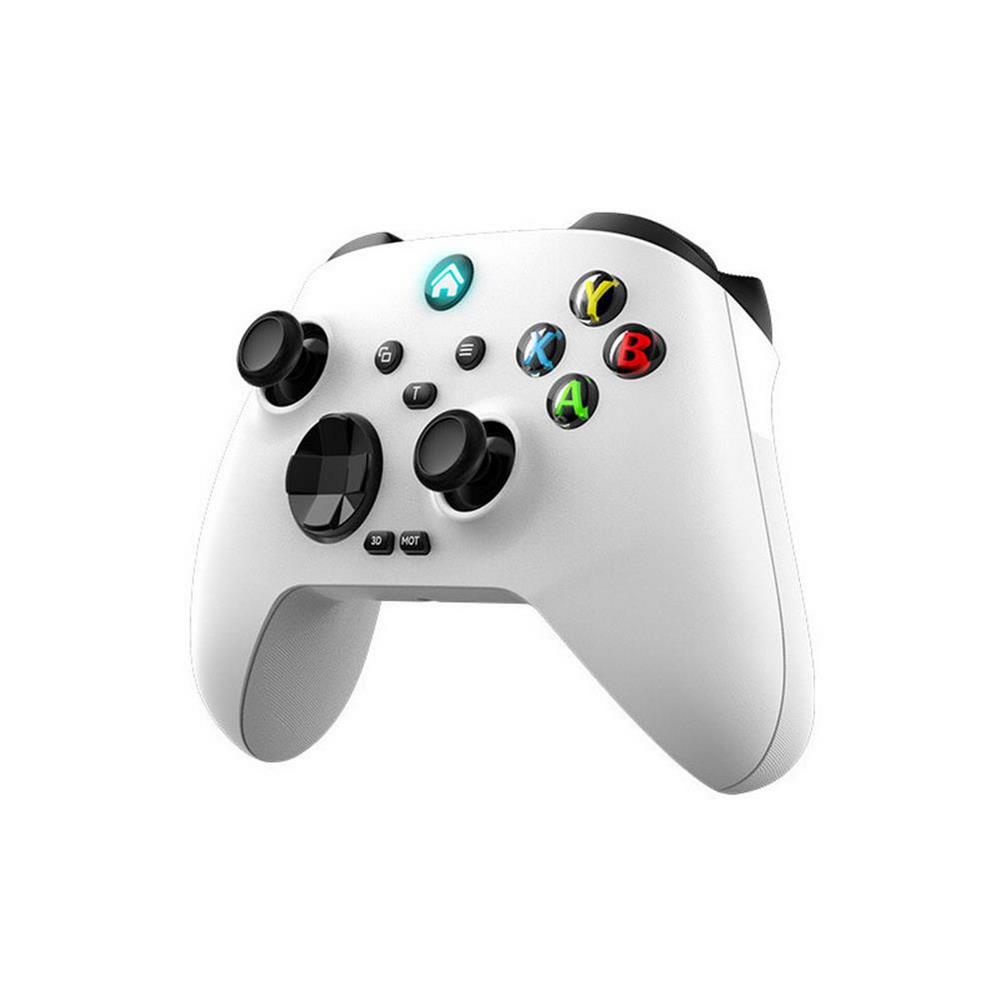
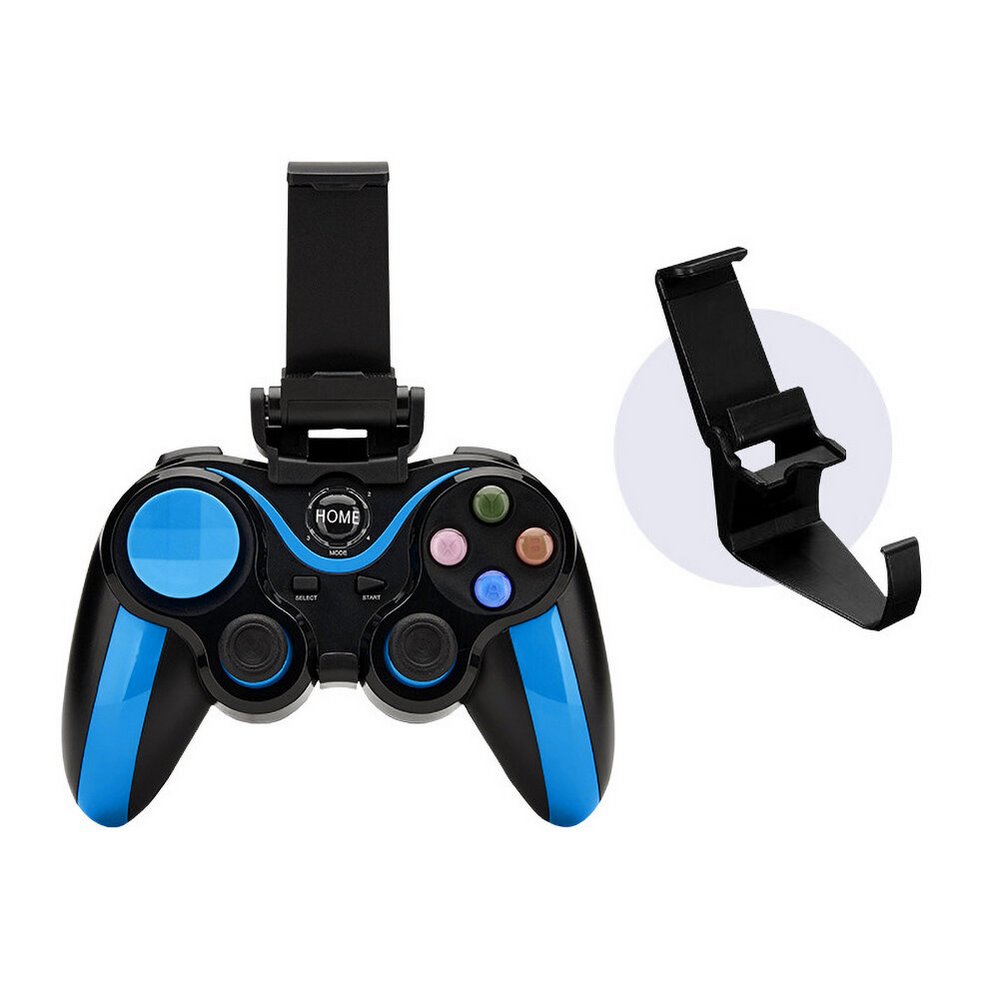
NS191 Switch bluetooth Handle Mini Gamepad Dual Turbo Burst Gaming Joystick with Screen Shot Vibration
For the first connection and pairing, please follow the steps below:
1. Turn on the Switch host
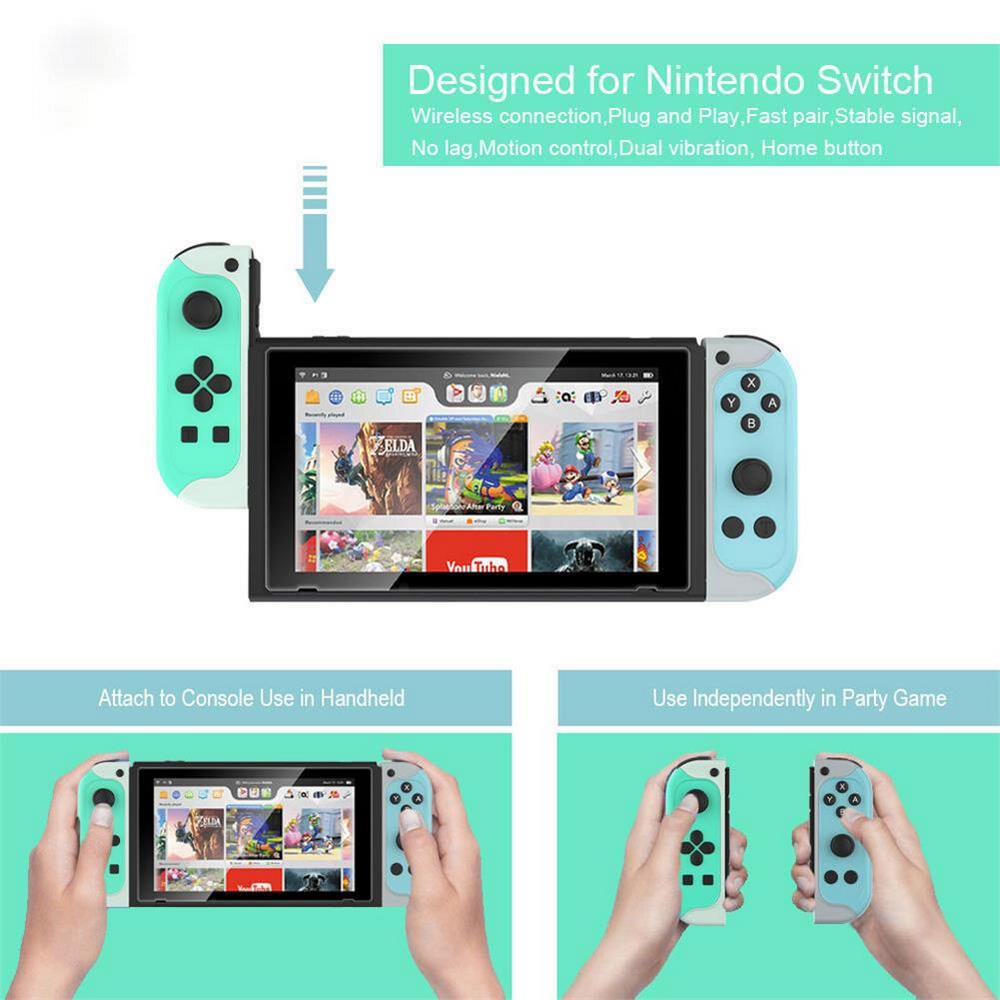
2. Install the handle on the Switch host and use the slide on the side of the host to slide the handle from top to bottom until you hear a slight click
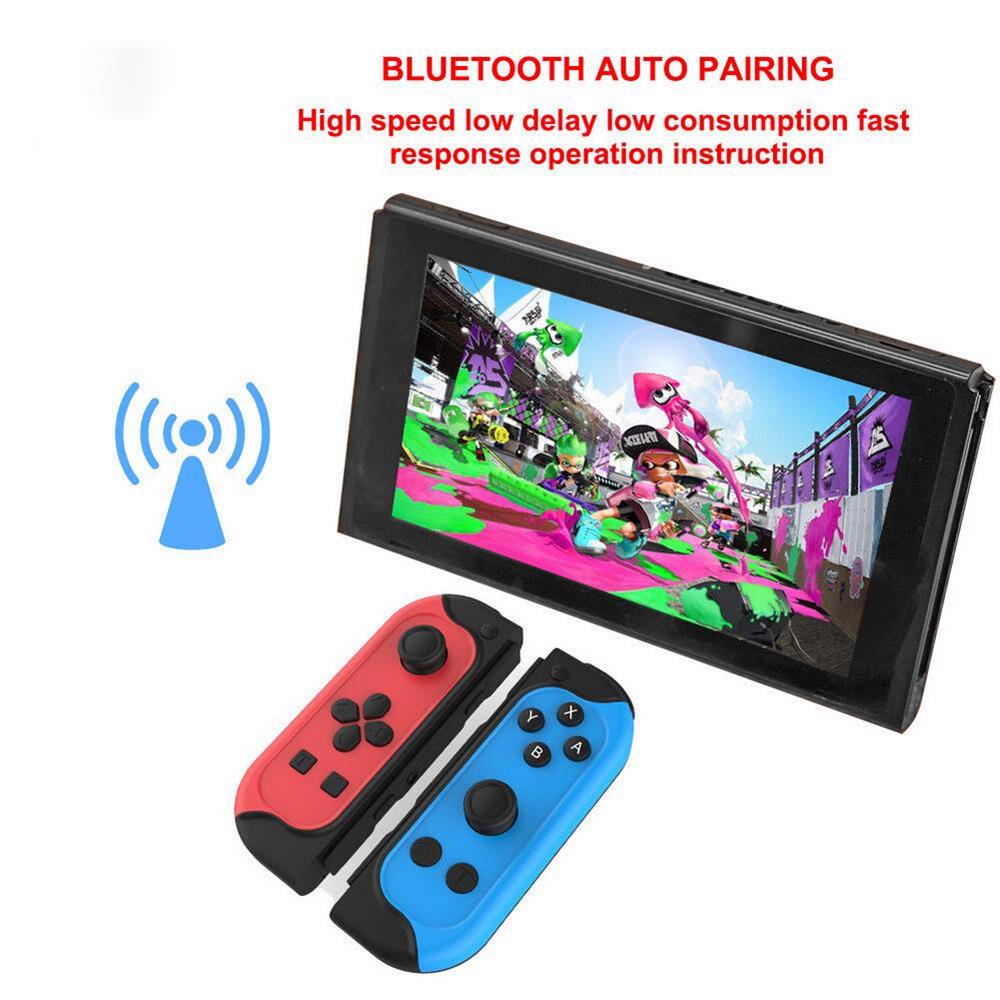
3. The handle starts to automatically register and pair. After the pairing is successful, it can be plugged in and used on the host or removed
Connect and use via Bluetooth:
After the controller is installed on the host, the pairing cannot be registered, please refer to the following methods to check the pairing problem:
1. Make sure your host has been upgraded to the latest system
2.Press the pairing button to close the handle, reset the connection of the handle, and then plug the handle into the host
3. Insert the handle into the host, make sure the direction of insertion is correct, it slides to the end, and a slight click sound is heard
4. Unplug the handle from the host, try to insert it again, and rule out that it cannot be paired because there is no good contact
5. If the handle cannot be awakened, please charge your handle before trying to pair
Note:
1. The switch host must be in the on state, if the host is in the dormant or off state, the handle cannot be paired
2. When the handle cannot be awakened or the LED indicator continues to flash slowly, please charge your handle before using it
How to pair (connect back) the controller to the switch host again:
After the handle is paired for the first time, the handle can be connected to the host again in the following two ways
Method 1 Bluetooth connection and pairing
1. Turn on the Switch host
2. Press any function key (except the joystick) for 2 seconds to wake up the handle, and then the handle will automatically and
The host connects back to the pair via Bluetooth, and the back-to-back pairing can be completed in about 4 seconds
3. Once the pairing is successful, the corresponding LED indicator of the handle will be on
Method 2 Wired connection pairing:
1. Turn on the Switch host
2, Attach the handle to the host through the slide on the side of the host
3. After that, the handle will automatically pair with the host through a wired connection, which can be completed in about 4 seconds
Connect back to match
Pairing question answer:
When the handle is inserted into the host, it cannot be paired, please refer to the following method to check the paired handle or method
Method 1:Delete the pairing information of the Switch host
1. On the main interface, select [Settings], then click [Handle and Sensor], and select [Disconnect the handle]
2. Long press the X button of the handle to disconnect the host from all handles and release the matching
3. Pair all the handles that need to be used again
Method 2:Press the pairing button of the handle, reset the handle connection, and pair again
Remove the handle from the host, press the pairing button of the handle, reset the connection of the handle, and pair the handle to the host again
Method 3:Ensure that the handle has been slid into the slideway of the host in the correct way, and slide the handle to the end
Method 4:Charge your handle, because the battery of the handle must be in a low battery during transportation
When you get the handle, the handle may be in a low power state and cannot be turned on
Method 5:Make sure the host is the latest system
Method 6:Try to remove the handle from the host and connect again


Additional information
| Weight | 0.25 kg |
|---|---|
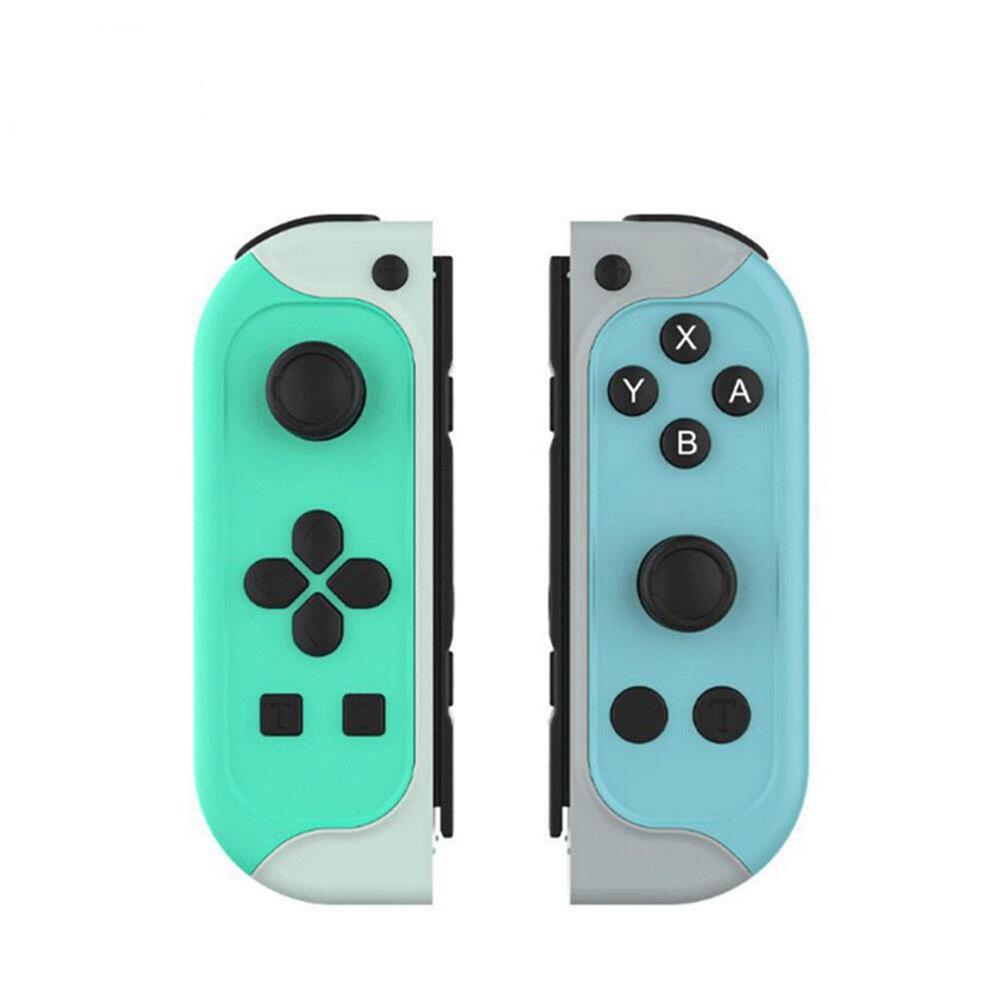
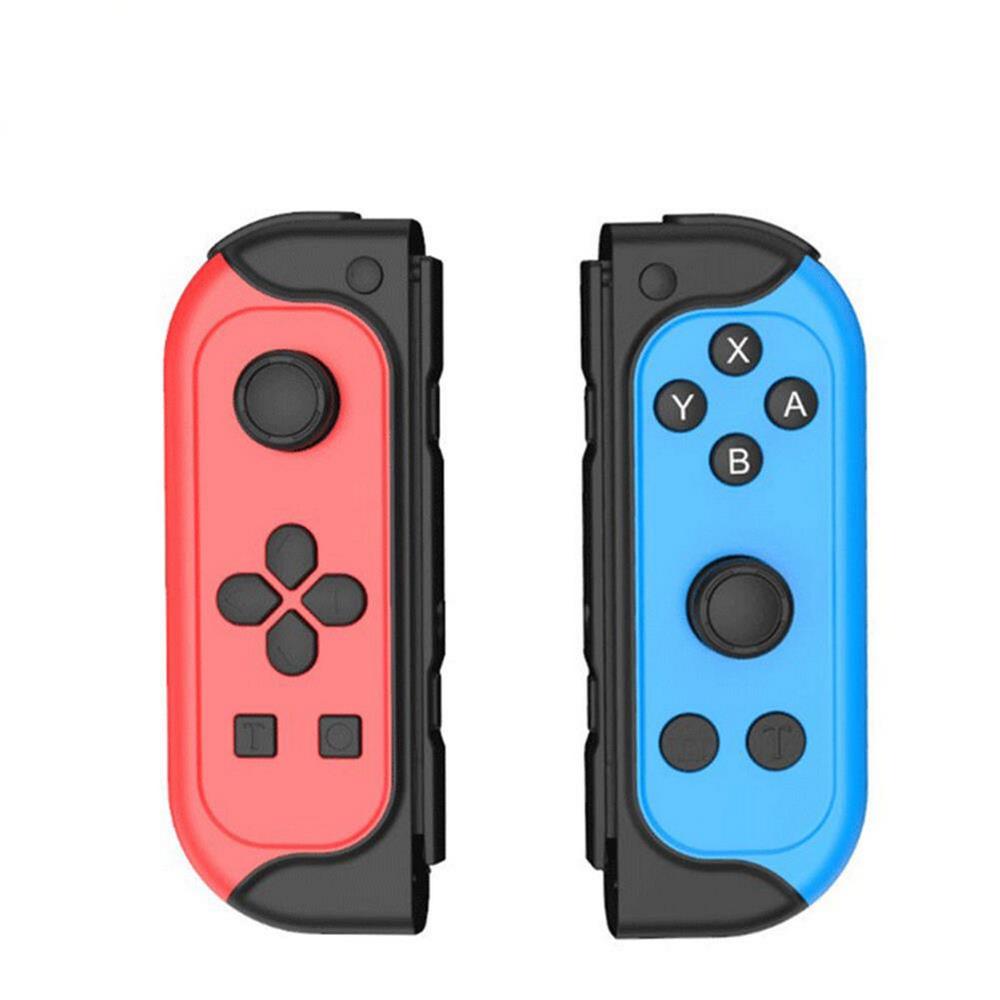
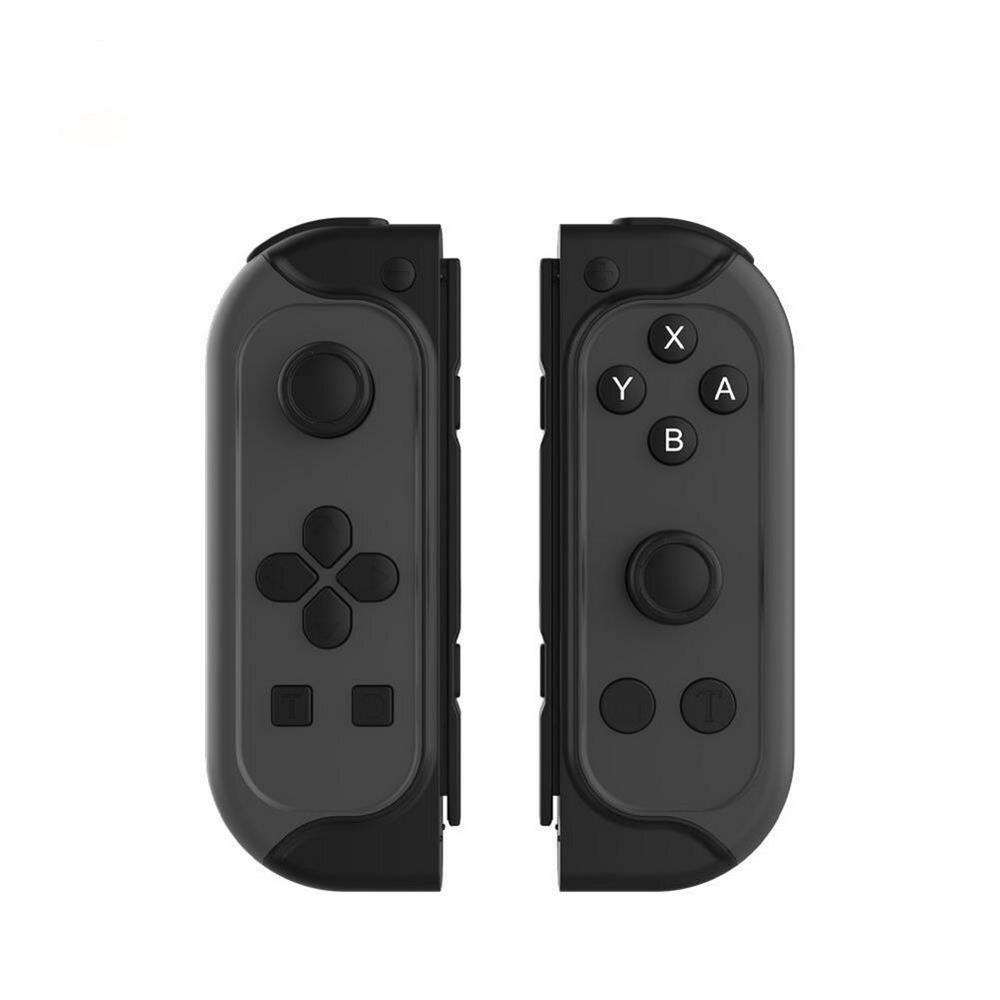
| Color: No selection | Blue red, Green, Grey, Yellow |








Reviews
There are no reviews yet.